Here I am gonna discuss Domain Configuration for Oracle Service Bus 11g for windows PC.
As we have already installed Oracle Service Bus 11g
For Details visit
http://osb-dheeraj.blogspot.in/2013/07/oracle-service-bus-11g-installation-for.html
now we will be moving forward with Domain Configuration.
Step 1 :
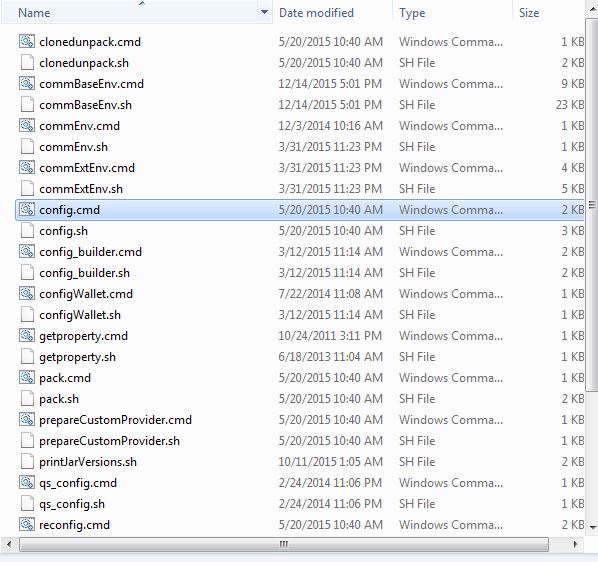
Locate the OSB Home directory Inside Middleware Home, and move to directory:
\Oracle\Middleware\OSB_Home\common\bin
Inside the Bin Directory, you will find
config.cmd file. Open it either by Double clicking on or by using command Prompt.
Choose the Option "Create new WebLogic Domain" Then click next
Step 2 :
Choose Oracle service Bus , it will also select few other required products.
You can also select other products as per your requirement.
Click next
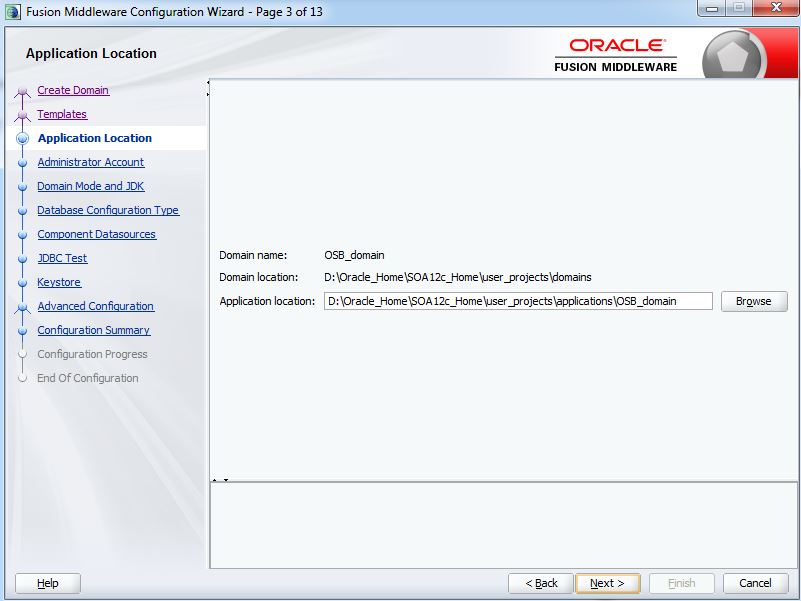
Step 3 :
Provide name of Domain and Location of Domain Directory.
Oracle Recommend a separate Domain Directory from Fusion Middleware installation Directory.
Click next
Step 4 :
Provide Username and Password for Domain administrator
Click next
Step 5 :
Choose your JDK version available. For production environment JRockit is reccomended.
Click next
Step 6 :
Select the "OSB JMS Reporting Provider "
It will choose default derby evaluation Database included with Weblogic.
if you want your separate database, then you need to install any Oracle DB compatible database and create schemas using Repository Creation utility (RCU), and Provide those details here.
I will Discuss the steps for running RCU in separate Post.
Click next
Step 7 :
Configuration utility will verify Connection with Schema as provided in next screen and will show the status here.
Since we have chosen Derby Evaulation DB and it is not running now, So the test result will be Failed.
When we start the Admin server later it will automatically start the Derby DB.
Click next, it will show you an error Popup, click Ok to byepass the test.
Step 8 :
Now choose Adinistration Server and Managed server, in this screen.
Click next
Step 9 :
Give name to Admin server and Port no. (Please check the port is not assigned to any other service in your PC).
Click next
Step 10 :
Provide name and port no. for the Managed server here
Click next
Step 11 :
Since our installtion is on single physical machine, so we need not to configure cluster.
Leave default and click next
Step 12 :
Click on 'add machine'
Provide details of machine eg name and address.
Click next
Step 13 :
Assign servers to Machine by clicking arrow button available on centre column. This will be used by NodeManager to start and stop servers remotedly.
Click next
Step 14 :
Verify the summary details for this new Domain. Then click Create.
This will start domain configuration.
Make note of admin server URL and click Done.
This will finish the Domain Configuration of OSB 11g.
Now in order to start development, we need to start the Admin and managed server, which we have created here.
The process of starting and stopping Admin and Managed server, I will discuss in my next Post.